How to Make a Bead Pattern with Beadify
By the end of this guide you'll know how to make a bead pattern in Beadify from start to finish — turning a photo into a workable chart, picking the right grid size and bead palette, cleaning it up by hand, choosing a stitch, and exporting PDF instructions you can bead from.
What Beadify is and who it's for
Beadify is a web app that converts photos and artwork into bead patterns, then color-matches every cell to a real seed bead you can actually buy. You point it at an image, it builds a grid, and it tells you which bead goes in each square. No graph paper, no manual color counting.
It's built for grid-based crafters of every stripe:
- Seed bead weavers working loom, peyote, brick, or square stitch with Miyuki Delica, Toho, or Preciosa beads.
- Perler and fuse bead makers who want a pegboard-ready pixel chart from a photo.
- Cross stitch crafters crossing over to beads, who already think in grids and color keys.
If your craft lives on a grid, the workflow below is the same. The only thing that changes at the end is which export you download.
Creating your first pattern: blank grid vs import
When you start a new pattern, Beadify gives you two doors. Pick based on whether you already have a picture in your head or a picture on your disk.
- Start from a blank grid. You set the width and height in beads and get an empty canvas to paint on. Best for lettering, small geometric motifs, and original designs where you know the shape before you know the colors.
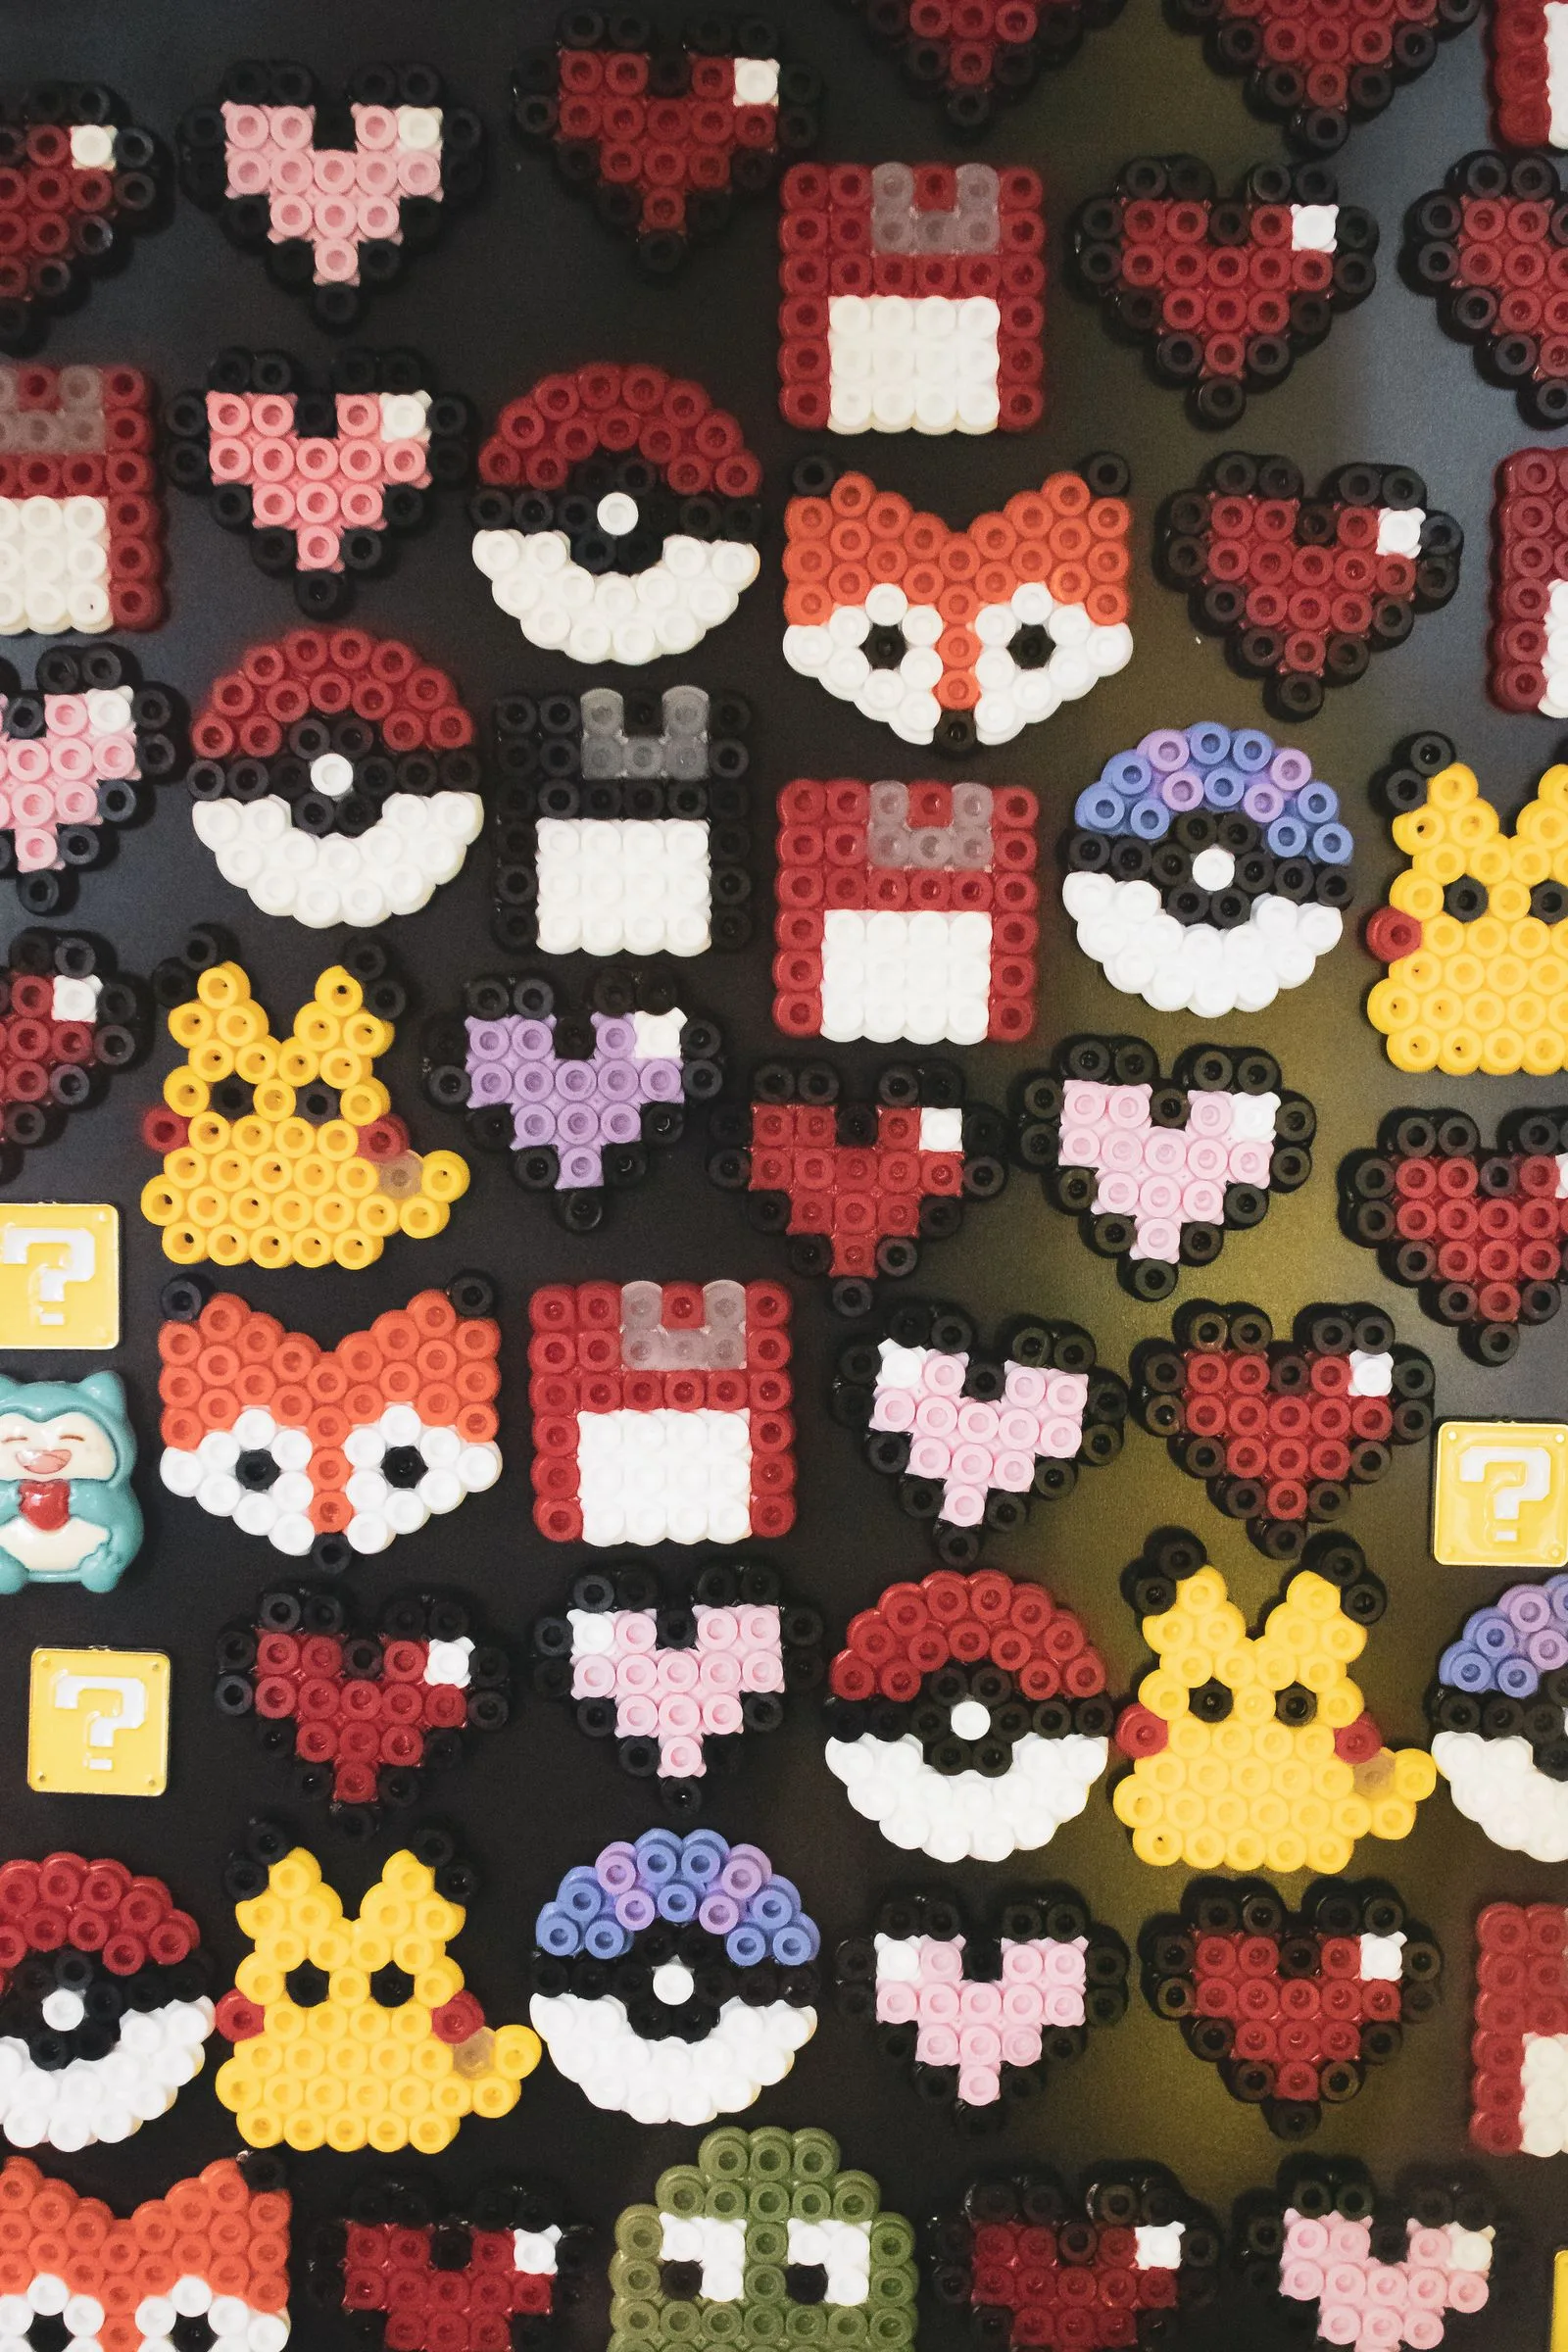
- Import and convert an image. You upload a photo or piece of art and Beadify quantizes it into beads. Best for portraits, logos, characters, and anything too detailed to place cell by cell.
Most people start with import because it does the heavy lifting, then switch to hand-editing to polish the result. You can always do both on the same pattern.
Converting an image to a pattern
This is the core feature, so it's worth slowing down. Conversion has three decisions: grid size, palette, and conversion mode.
1. Choose the grid size
The grid size is how many beads wide and tall the finished piece will be. More beads means more detail and a bigger physical piece; fewer beads means a faster project that reads more abstract. Start lower than you think — a 50-bead-wide portrait already holds a lot of detail and is far quicker to bead than an 80-wide one.
One geometry note that trips up beginners: a size 11/0 Miyuki Delica is wider than it is tall — roughly 1.6 mm wide by 1.3 mm tall. The grid cell is rectangular, not square. If you render a square image bead-for-bead, the finished piece comes out about 20% wider than tall, and circles turn into horizontal ovals. To keep proportions right, add rows (multiply your row count by about 1.23) or start from a source image that's roughly 25% taller than wide. Beadify accounts for bead aspect ratio in its preview, so what you see on screen matches the woven result.
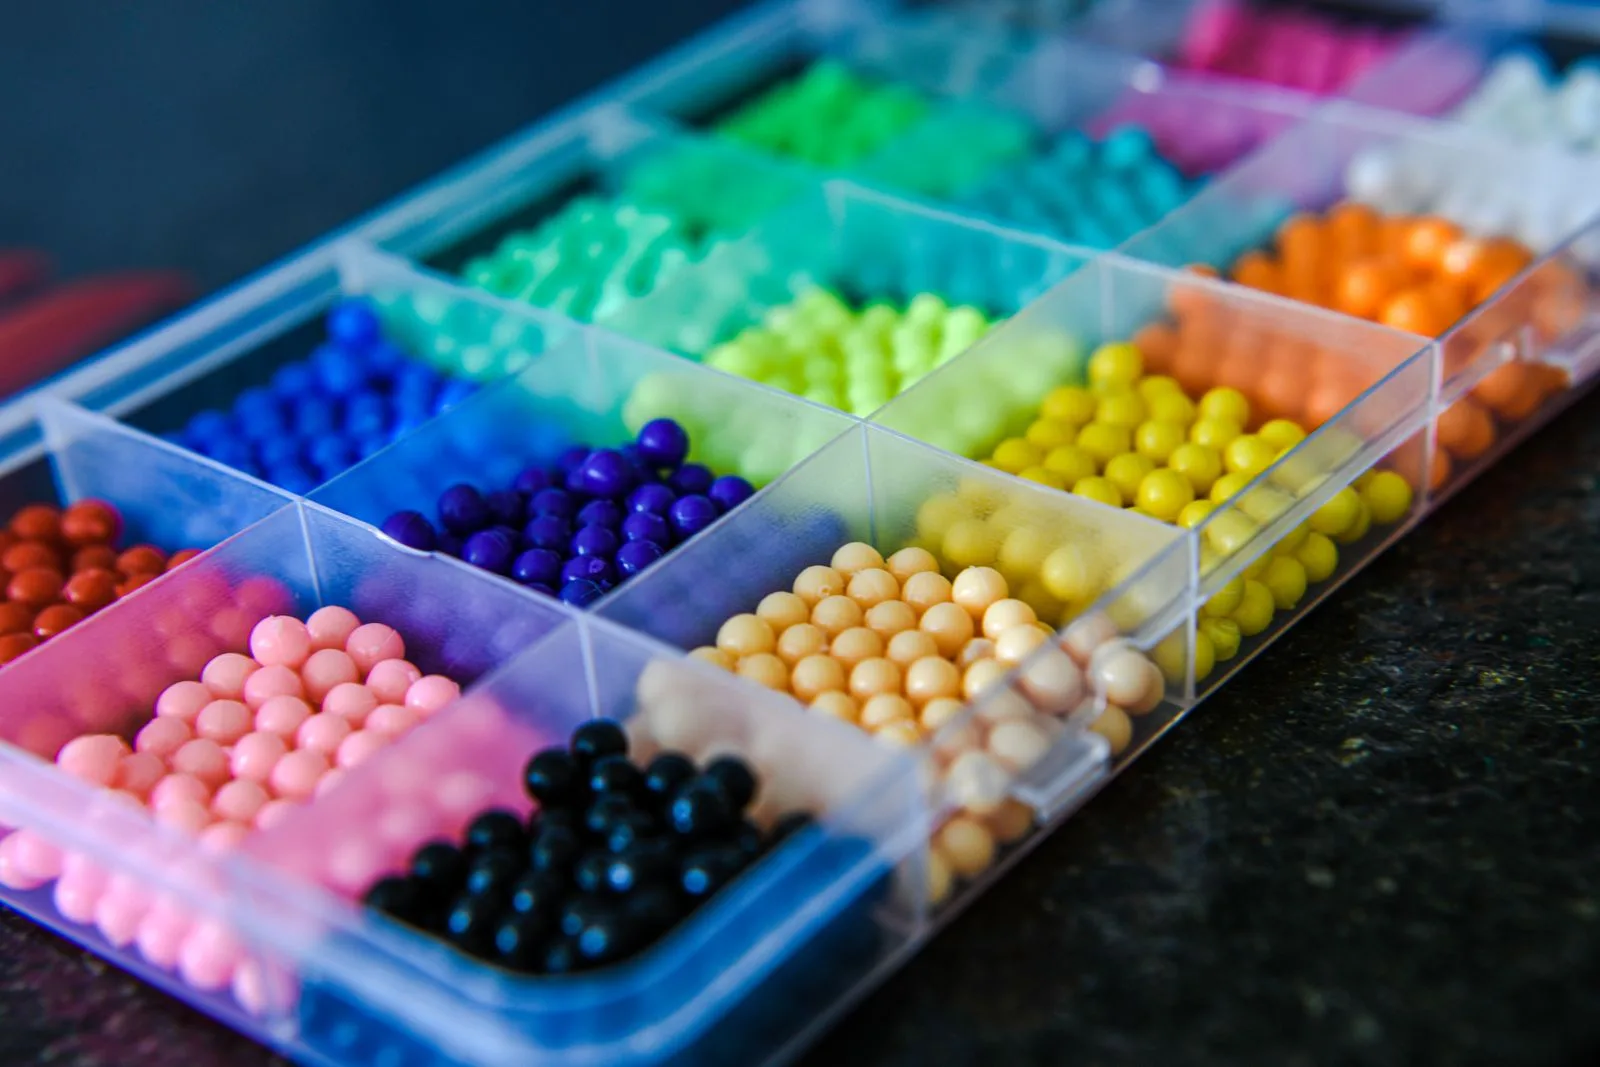
2. Pick a bead palette
The palette is the set of bead colors the converter is allowed to use. You can match against a real catalog — Miyuki Delica, Toho, or Preciosa — so every color in the output maps to a buyable bead code like DB-0723. A smaller palette is cheaper to buy and easier to bead; a larger palette captures gradients and skin tones more faithfully. Pick the brand you actually stock, then cap the color count to keep your shopping list sane.
3. Choose the conversion mode
Not all images want the same treatment. Beadify has two modes, and choosing right is the difference between a crisp chart and a muddy one.
- Flat art (faithful). For logos, icons, lettering, and clean vector-style art with solid color regions. Beadify reproduces the colors faithfully with no dithering, no saturation boost, and no edge sharpening — flat areas stay flat and lines stay clean.
- Photo (photo-grade). For photographs and painted images with gradients and soft edges. This mode uses edge-aware quantization so shapes hold their outlines, and it handles smooth tonal transitions the way a photo needs.
There's also a pixel-exact option for art that is already drawn on a grid — true pixel art exported at, or scaled cleanly from, its native resolution. When your source is grid-aligned, pixel-exact samples one bead per source pixel with no resampling, so a 32×32 sprite becomes a 32×32 chart with the exact original colors. Use it for sprites and pixel-art; leave it off for photos and hand-drawn art, where it would just amplify noise.
Rule of thumb: solid colors and hard edges → flat art. Gradients and soft focus → photo. Already a tidy grid of pixels → pixel-exact. When in doubt, convert once each way and compare the previews.
Editing the pattern
Conversion gets you 90% of the way. The last 10% — fixing a stray color, cleaning an edge, dropping the background — is hand work, and it's where a good pattern becomes a great one.
- Painting cells. Click or drag to set a cell to any color in your palette. Use it to repair an eye, sharpen a letter, or knock out specked-up pixels the converter left behind.
- The color palette. Merge two near-identical colors into one to shrink your bead count, or swap a color globally to test a different shade. Every change re-counts your beads live.
- Shape masks. Crop the pattern to a circle, diamond, or other outline instead of a rectangle — handy for pendants, earrings, and medallions. Cells outside the mask become negative space (openwork) — empty cells with no bead.
A note on negative space, because how you work it depends on the stitch. On a loom it's trivial: the warp threads still run through the gap, so you just leave those warps unbeaded. In peyote and brick stitch, an internal hole is advanced work — you bead separate strips and bridge them, or stitch a separate motif and join it. Don't expect to skip a bead mid-row and continue as if nothing happened.
Choosing your stitch type
Your stitch determines how the bead grid offsets, and that changes which shapes come out clean. Set it before you fuss over curves.
| Stitch | Grid behavior | Best for |
|---|---|---|
| Loom | Square-aligned rows and columns | Clean curves, diagonals, openwork |
| Square stitch | Square-aligned (looks like loom) | Clean curves without a loom |
| Peyote | Rows stagger by half a bead | Dense, flexible, brick-like texture |
| Brick | Rows stagger by half a bead | Pendants, fringe, angled motifs |
The staggered stitches — peyote and brick — offset every other row by half a bead. That offset is what makes smooth curves and clean diagonals harder: a circle gets a faint stair-step on its edges. If clean curves matter to your design, loom or square stitch give you a true grid and the smoothest outlines. Beadify renders the preview in the stagger of your chosen stitch, so you see the real shape before you commit.
Exporting your pattern
When the chart looks right, you turn it into something you can bead from. Beadify gives you a few exports, each suited to a different way of working.
- PDF instructions per stitch. A printable pattern with the chart, a color legend mapping each symbol to a bead code, and a bead tally. The instructions are written for your chosen stitch — a loom export talks about warps and the header; a peyote export talks about the step up and odd-count turns — so the row-by-row guidance matches how that stitch is actually worked.
- Word charts. A line-by-line text description of every row, the format many beaders prefer for peyote and brick because you can read it without looking at a grid. Where a row contains negative space, Beadify writes the gap as
(N gap)— that's Beadify's own shorthand, not an industry-standard notation, since there isn't a community-standard symbol for a void in a word chart. - Share to the community. Publish the pattern to the Beadify community feed so other makers can find it, save it, and bead it.
Before you print, glance at the bead tally and add a buffer — beaders typically order about 15% extra per color to cover spills, tension differences, and the occasional misfit bead.
Next steps after your first pattern
One pattern in, here's where to go to get faster and build a library.
- Explore community patterns. The community feed is the quickest way to see what grid sizes and palettes other people use for a given subject. Save anything you might bead later.
- Organize with tags and collections. As your saved and created patterns pile up, tag them by project type, color story, or recipient, and group related ones into collections so you can find them later.
- Reconvert with a different palette. Keep one source image and convert it twice — once in Delica, once in Toho — to compare how each catalog's color range handles your subject.
How Beadify helps
The slow parts of designing a bead pattern — counting colors, matching them to real bead codes, redrawing the chart when you change your mind — are exactly what Beadify automates. You bring an image and the decisions; it handles the quantization, the color matching to actual SKUs, and the stitch-aware export. That leaves you free to spend your time on the part that's actually fun.
Related reading
To go deeper on the steps above:
- How to Turn Any Photo into a Bead Pattern — image prep and conversion in more detail.
- How to Make a Bead Pattern (Step by Step) — sizing, bead counts, and charting from scratch.
- How to Read a Bead Chart — grid orientation, row direction, and color codes.
Your first pattern is the hardest only because everything is new. Convert one image, edit one stray cell, export one PDF, and the whole flow clicks into place — the next pattern takes minutes.
Ready to make your first one? Upload a photo and Beadify color-matches it to real Delica, Toho, or Preciosa beads.
Start creating →